


Introduction: Why Add a Background?
A background in your tarantula enclosure does more than just make it look good. Sure, it adds that wow-factor when people look at your setup, but it also gives your spider new climbing and hiding opportunities. It makes the enclosure look like a slice of nature rather than a sterile box.
Every keeper who builds one of these eventually realises that it changes the entire feeling of the enclosure. A flat glass wall becomes a vertical playground for arboreal species and a comforting backdrop for terrestrials. And: it is fun to build. It is one of those DIY projects where you can get your hands dirty (literally) and create something that feels like your own.
So, whether you want to give your spider more climbing enrichment or you just want an enclosure that looks like it came straight from a rainforest documentary, let us get started.
What You Will Need
Before we start cutting, carving, and gluing, let us look at what you actually need. Most of these materials can be found in any hardware store.
Materials
- Styrofoam board: This forms the base of your tarantula background. Lightweight, easy to cut, and very customizable.
- Tile glue (cement-based): Used to harden the surface and create a durable outer shell.
- Aquarium silicone: For securing the finished background into the enclosure. It is non-toxic once cured. Something like this.
- Acrylic paint: To add color and depth.
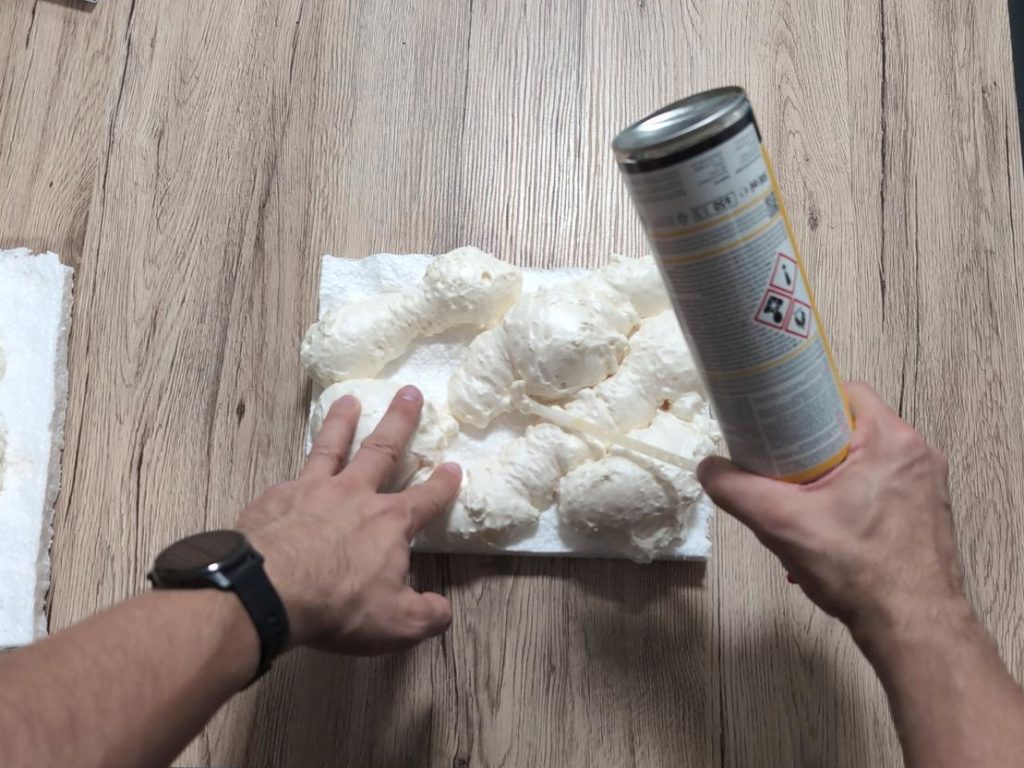
- Optional: PU foam (for shaping rocks and extra texture).
Tools
- Carpet knife or exacto knife: For carving and shaping the foam.
- Paint brushes: Various sizes. One for covering, one for highlighting.
- Mixing container and stir stick: For the tile glue.
- Pin needles or toothpicks: Helpful for securing pieces temporarily while drying.
- A fan: Optional, but great for speeding up drying time.
Basic Instructions: Step-by-Step
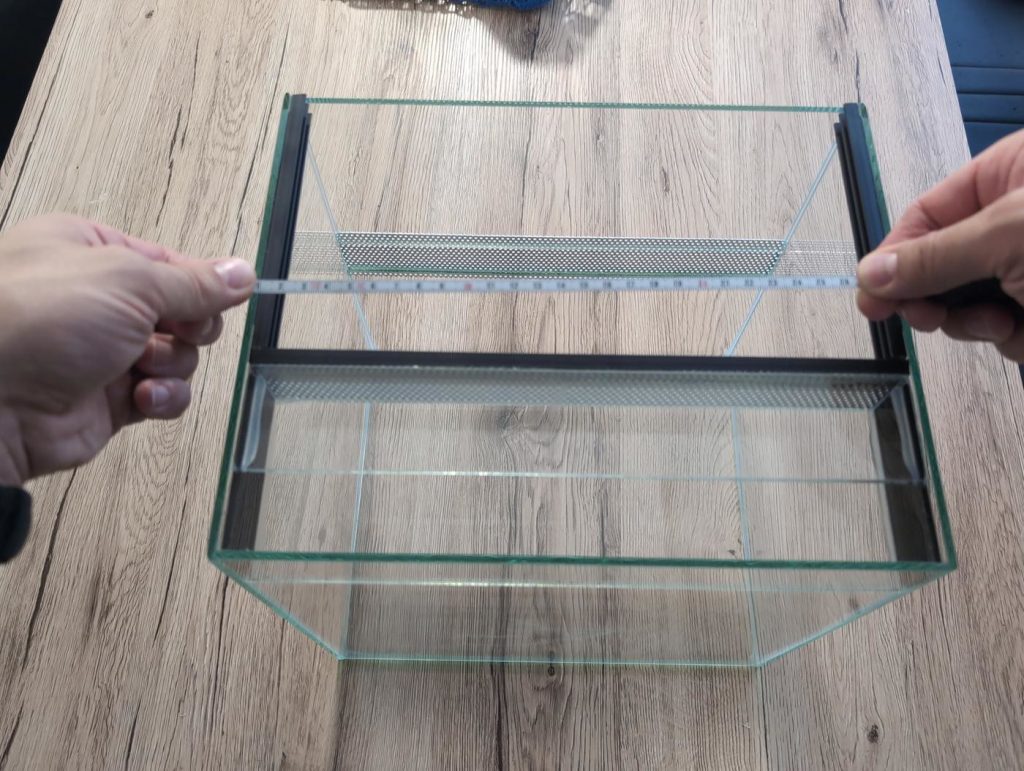
Step 1: Measure the Dimensions
Before you even touch the foam, measure the inside of your enclosure. Then, reduce the dimensions by a few millimetres on each side, so the background can actually fit through the opening. Many first-time builders forget this and end up carving a masterpiece that cannot be inserted without breaking. In short: cut the board, and then try to fit it in first, before you do anything else.
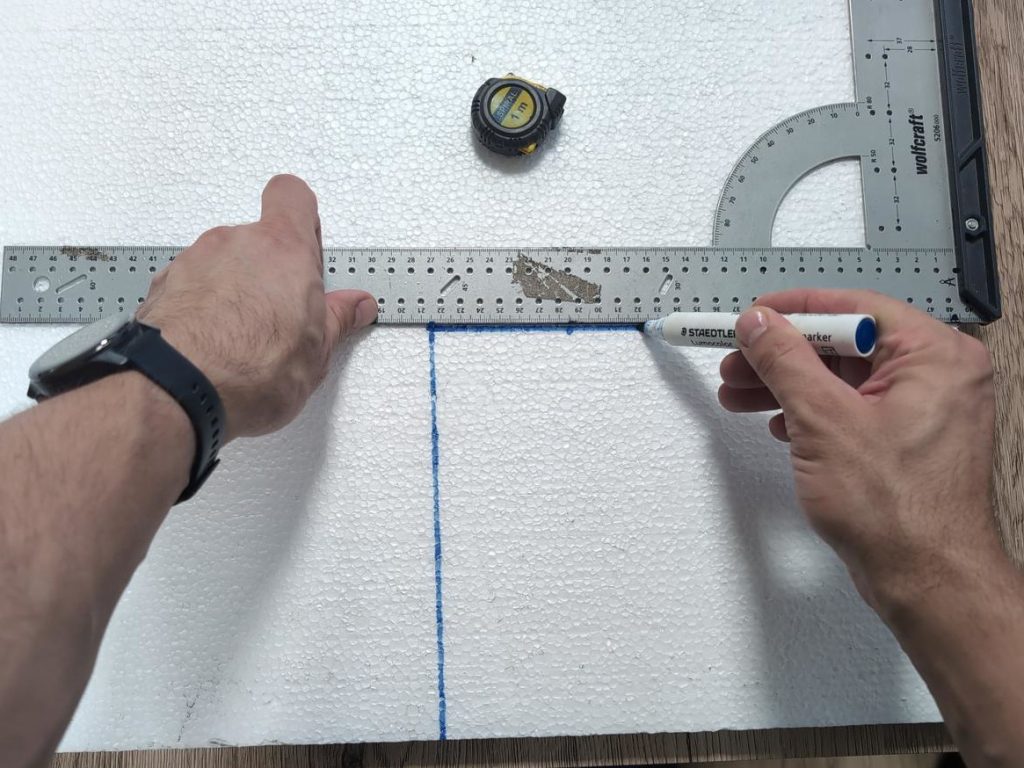
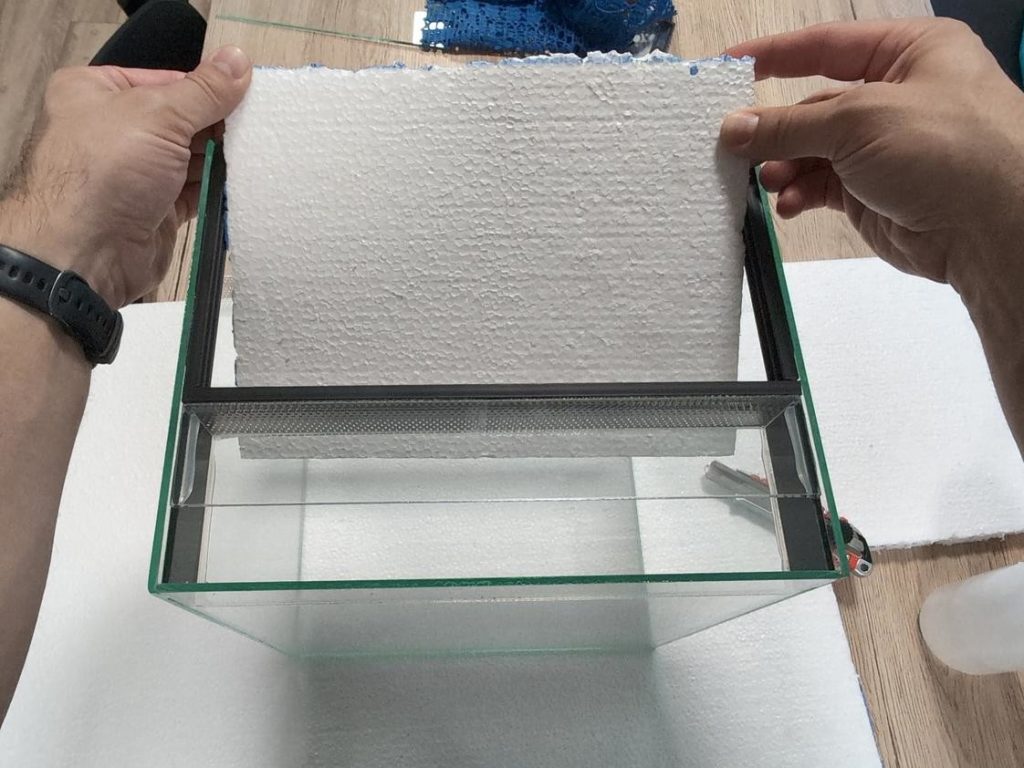
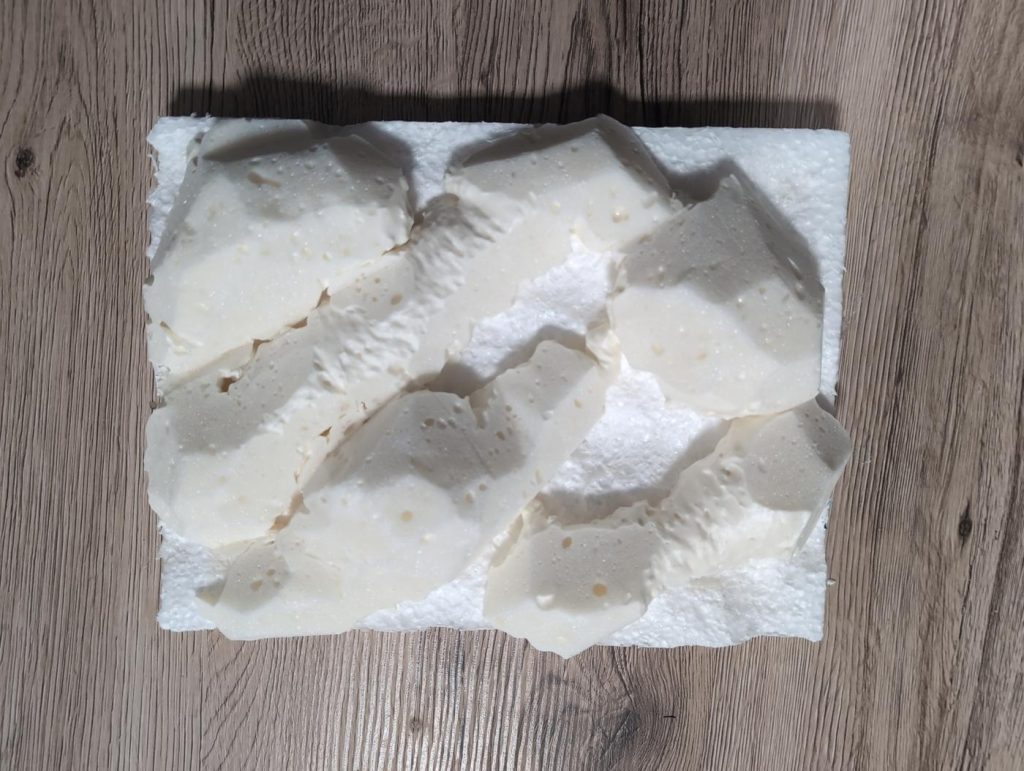
Step 2: Cut to Size
Use a sharp knife or a fine saw to cut your Styrofoam board to the correct size. Smooth edges are not necessary here; a bit of unevenness actually adds character and makes the final texture look more natural.
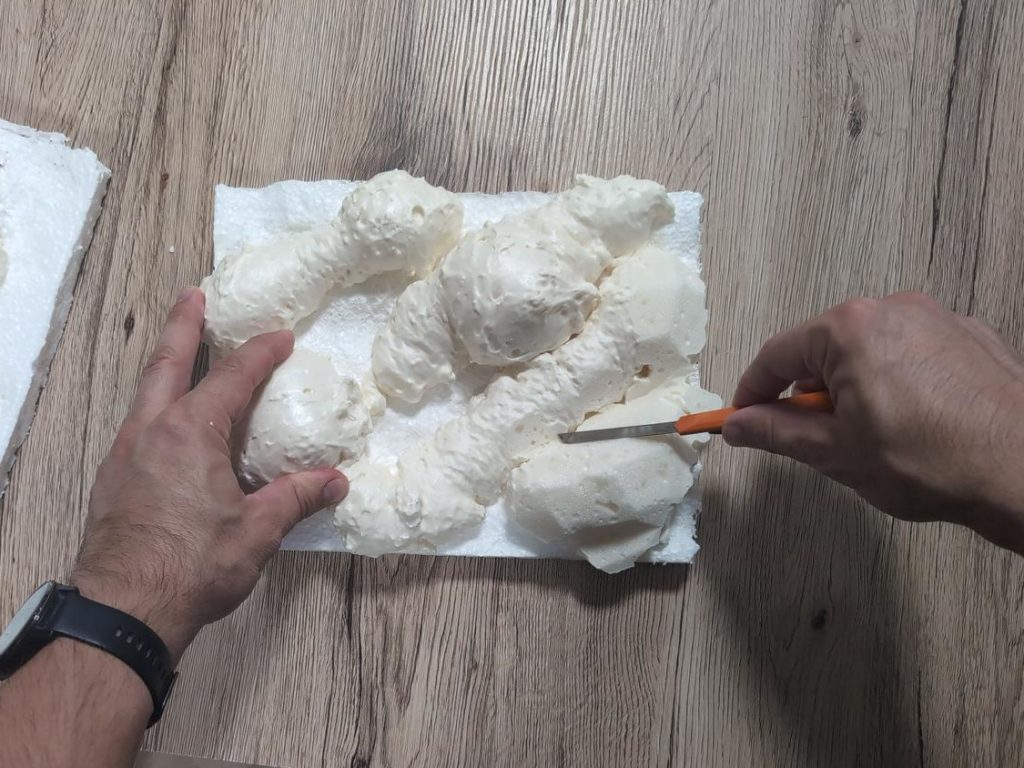
Step 3: Carve the Base Structure
Now comes the fun part. Take your knife and start carving. You can use either plain Styrofoam boards or combine them with blobs of PU foam to create more three-dimensional effects. Think in layers and shapes. Keep a waste basket or bag in close distance for the foam shavings, otherwise the crumbles will go everywhere.
Want cliffs, ledges, and fake roots? Stack, cut, and glue small foam pieces together. A carpet knife works great for rough cutting, while a smaller exacto knife is perfect for fine details.
This step is all about imagination. Some keepers even press rocks or bark pieces into the foam to imprint natural patterns. If it looks too perfect, you are doing it wrong. Nature is chaotic, embrace that.
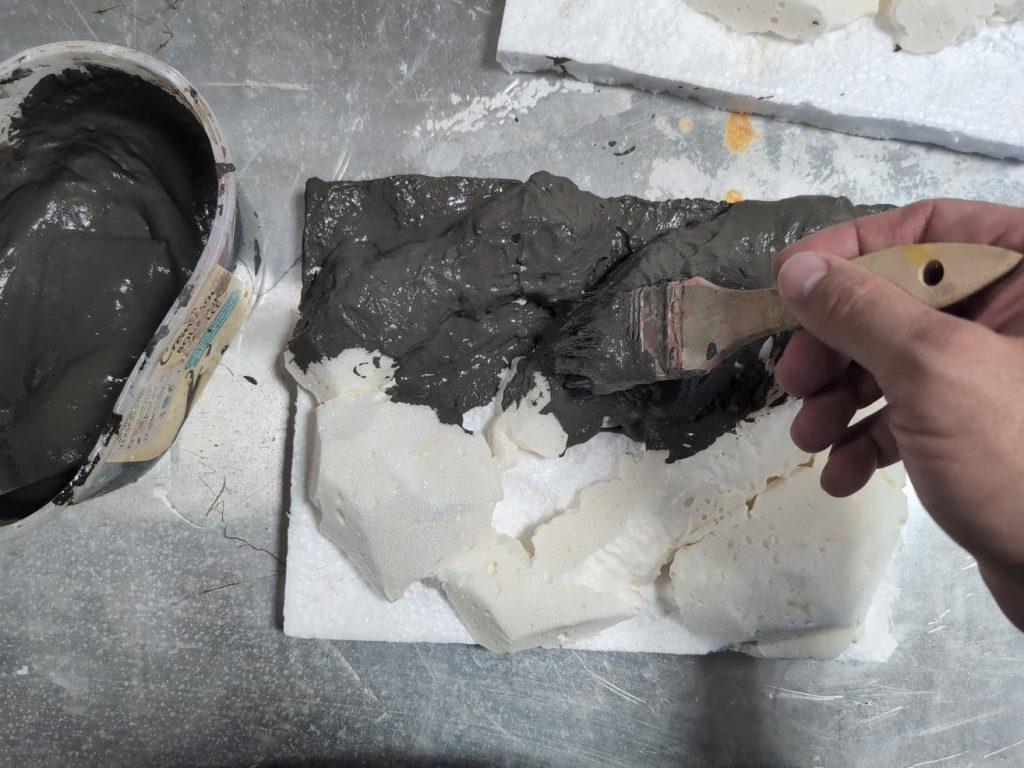
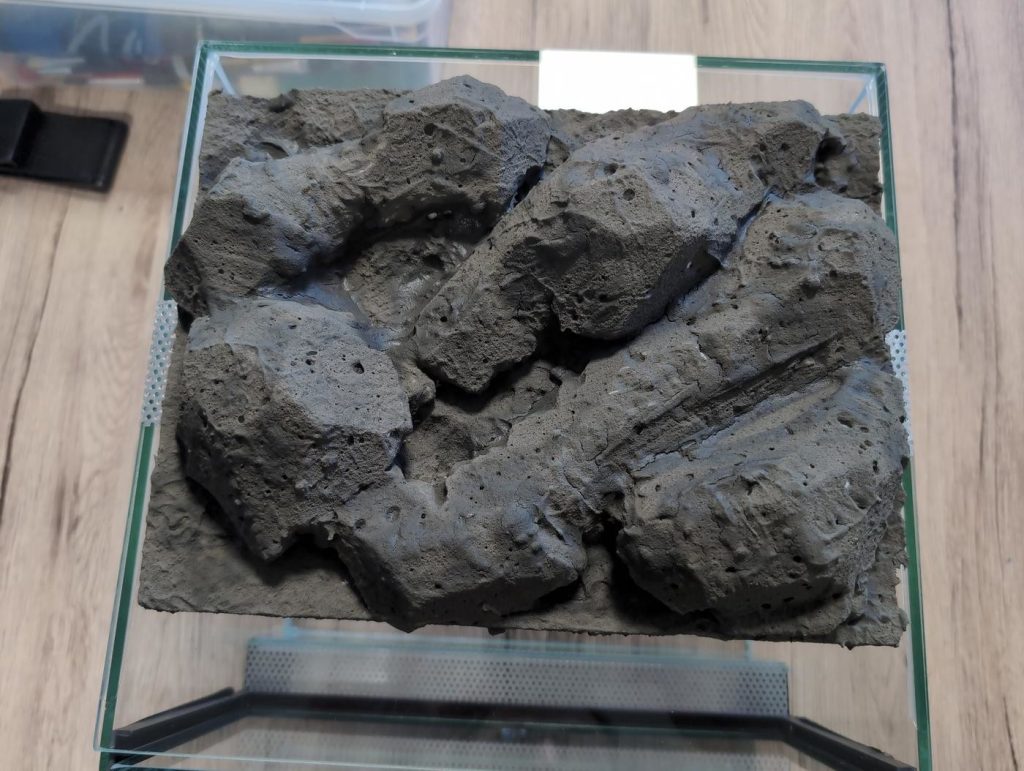
Step 4: Apply the First Layer of Tile Glue
Mix your tile glue according to the instructions until it has a thick, smooth texture. Apply it evenly across the entire surface of your background using a brush or spatula. Do not leave any bare foam exposed, because that will stay soft and vulnerable.
The first layer’s main job is to seal the foam and form a base for the next coats. Let it dry completely before moving on. If you are impatient, a desk fan will help speed up the process, but you might end up getting small cracks (which is not necessarily something bad in this case).
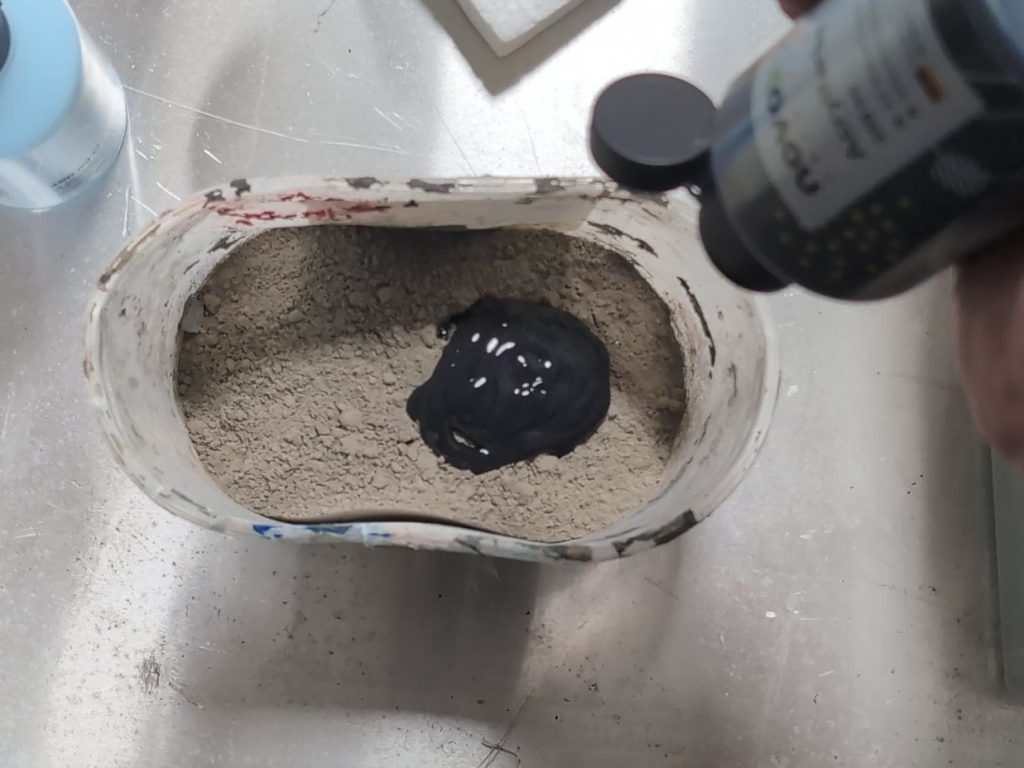
Step 5: Apply the Second Layer of Tile Glue (Colored)
Once the first layer is fully dry, prepare a second batch of tile glue. This time, mix in your chosen acrylic colors directly into the glue. This gives the background its base color while still keeping the surface durable.
Some good color ideas:
- Reds or blacks: Generally work great and allow for great contrast.
- Blues: Can look stunning for some setups.
- Greens: Hit or miss; depends on your lighting and theme.
Make sure the color layer covers every corner. Missing spots tend to look patchy later. Again, let everything dry fully before continuing.
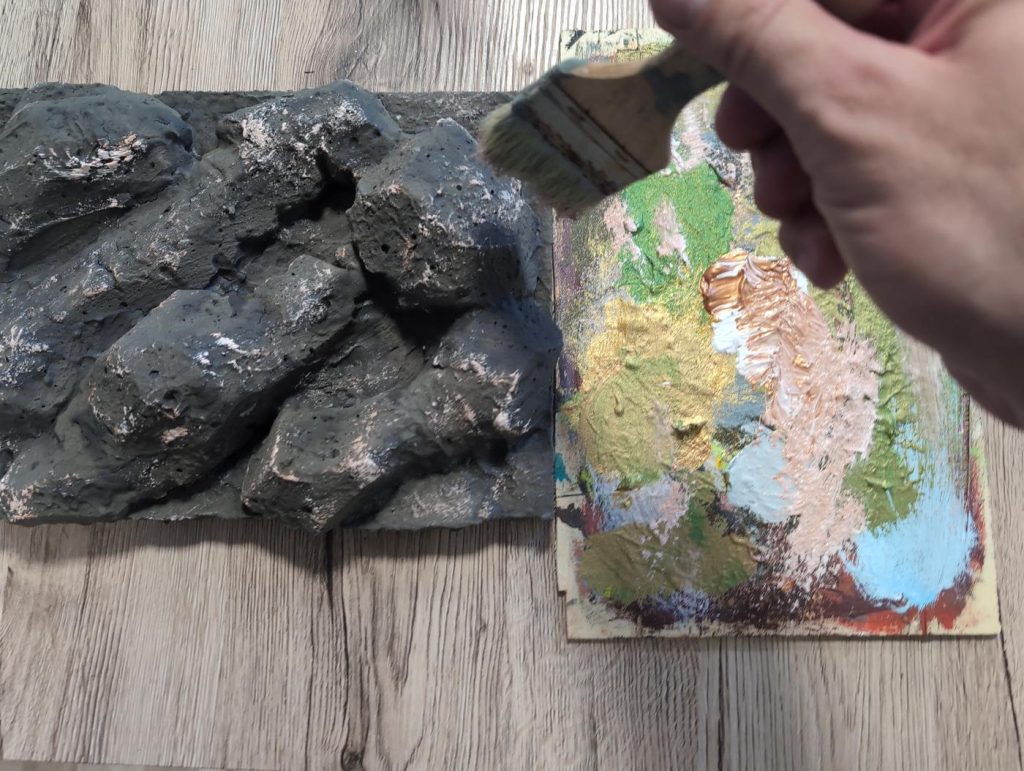
Step 6: Add Color Accents
This is where your background really comes alive and creates that wow-effect. You will now highlight edges and textures to create depth.
Choose accent colors opposite to your base tone:
- If the base is dark: Use lighter accents like sand or beige.
- If the base is light: Use darker tones like brown or charcoal.
- Metallic tones: Copper, gold, or silver accents look amazing if used sparingly.
However, this is not that strict of a rule. It’s art, in some sense. So anything goes, as long as it looks great.
How to apply: dip your brush gently into the paint, then wipe most of it off on a paper towel or spare surface. With long, soft strokes, brush over the raised areas of your background. You will instantly see the rocks “pop.” For deeper valleys or cracks, a few gentle taps with a nearly dry brush create nice shadows.
This technique gives your background a natural weathered look, as if water and time shaped it. Instead, it was tile-glue and an exacto knife.
Step 7: Final Drying
Let everything dry completely before you attempt to glue it into the enclosure. Patience is your best tool here. Tile glue hardens slowly, and premature handling can crack it.
A tip from experience: do not rush. You spent hours creating it, another few hours of drying time will not kill you.
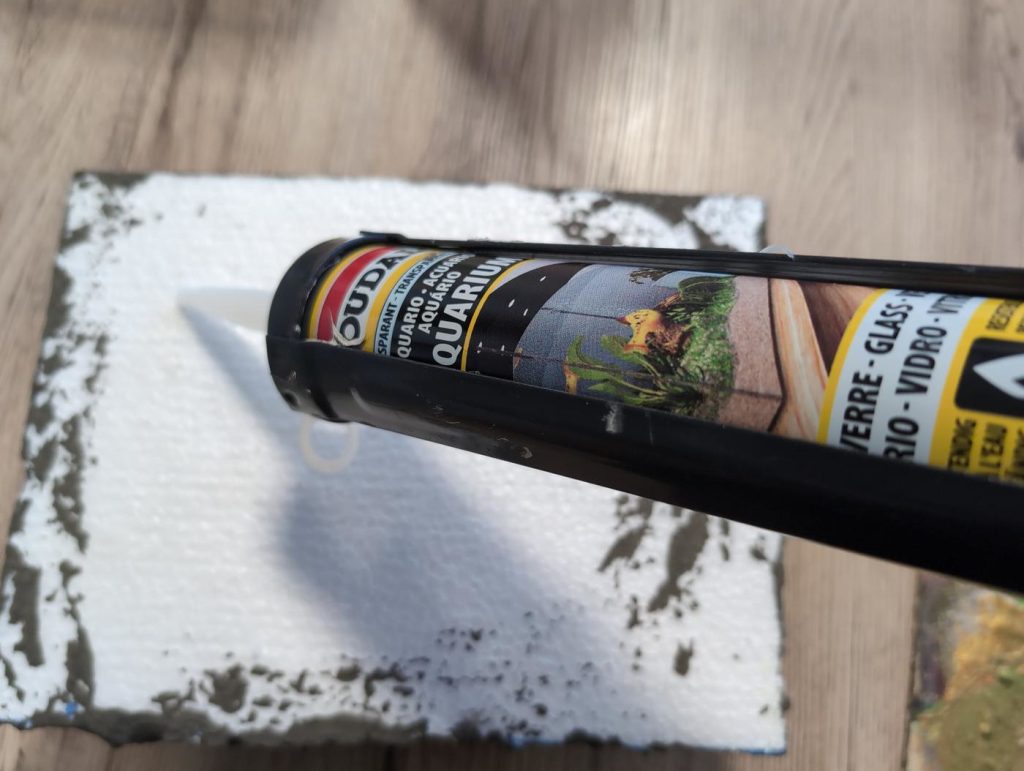
Step 8: Install the Background
When everything feels rock-solid and dry, apply aquarium silicone on the back of your finished background. Press it firmly into place inside your enclosure. Aquarium silicone is non-toxic once fully cured and has excellent adhesion.
You can use hot glue instead, but only if you have applied an insulating layer of tile glue on the back. Otherwise, the hot glue will simply melt through the foam, and you will have a sticky disaster on your hands.
Once glued in, let it cure completely. Do not put your tarantula back inside until there is no noticeable smell of acetic acid left. If you can smell vinegar, it is not ready.
Tips and Tricks
Flaming: Adding Extra Texture
One advanced technique for the brave is using a small soldering torch to flame the Styrofoam surface. This adds interesting texture and random depth to the design.
Hold the torch at a safe distance and slowly wave it across the surface. You will see the foam reacting and forming a melted, rocky pattern. Too far away and nothing happens, too close and you will have a smouldering crater.
Important: never apply this to PU foam and always ensure proper ventilation. The fumes are nasty, and inhaling them is not on anyone’s bucket list.
How to Speed Things Up
If you are in a hurry (or just impatient), you can complete a decent background in one afternoon.
- Use a desk fan between drying steps to accelerate the process.
- Use only one layer of tile glue instead of two. It will be slightly less durable, but perfectly fine if you are careful during installation.
This shortcut is great if you just want a quick decorative upgrade without building something indestructible.
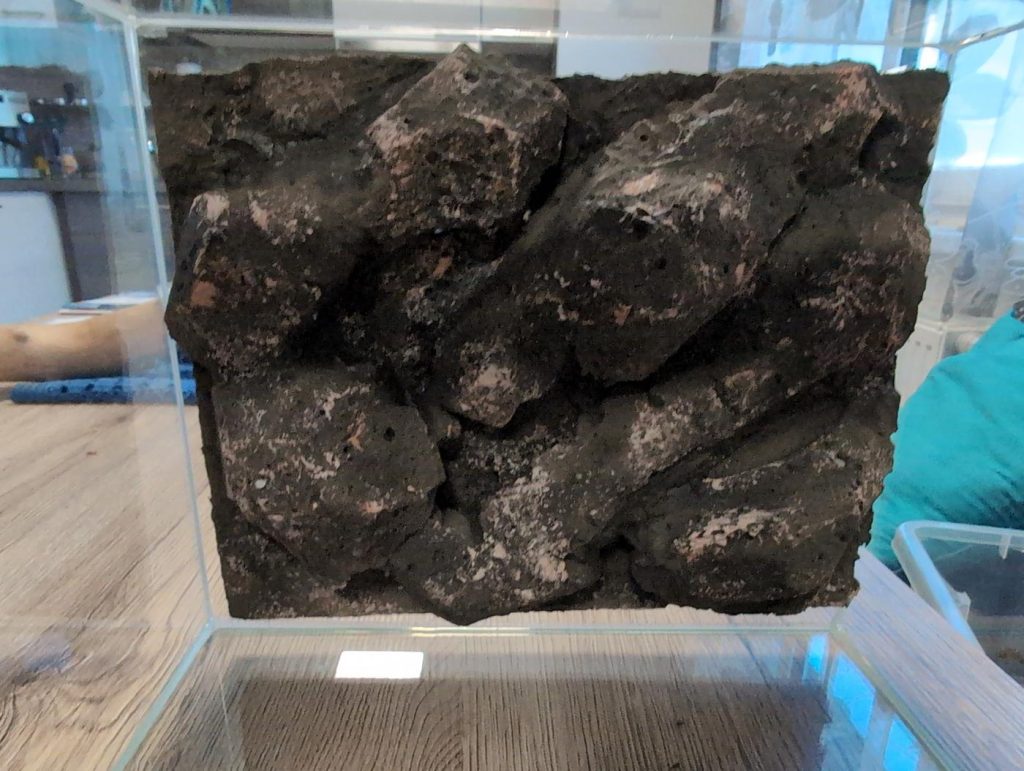
The Final Result
Once installed, you will notice how much character your enclosure suddenly has. Even a simple cubical tank transforms into a naturalistic slice of habitat. Tarantulas start exploring the new vertical structures, webbing over crevices, and sometimes even using the ledges as hunting platforms.
A good background adds enrichment, increases usable space, and frankly, makes your enclosure look like you know what you are doing. Choose your enclosure decorations to match or contrast your background colors and your enclosure will be a stunning piece of art.
Common Mistakes
- Skipping full coverage with tile glue:
Exposed foam will remain soft and can be damaged by humidity or by your spider’s claws. - Adding too much paint too soon:
Layers must dry completely; otherwise, you will create a sticky, uneven mess. - Ignoring ventilation during flaming:
Always work outdoors or with windows open. Melted plastic fumes are not part of the hobby. - Using cheap silicone:
Non-aquarium silicone often contains fungicides or additives that can harm invertebrates. Stick to aquarium-grade, no compromises. - Being too cautious with texture:
Rough surfaces look more realistic and allow webbing to stick better. You can always tone down color accents later, but you cannot add missing texture after it is sealed.
Optional Additions
If you want to take things further:
- Add embedded cork bark pieces or small rock fragments before applying the tile glue.
- Insert fake roots made of twisted foam strips.
- Blend your background into the substrate line for a natural transition.
These additions make your enclosure look like a genuine habitat.
Conclusion: Building Personality
Creating a DIY tarantula background is one of the most rewarding small projects in the hobby. It adds climbing space, visual depth, and a personal touch that no store-bought enclosure can match. Whether you keep arboreal species like Avicularia or terrestrials like Brachypelma, both will appreciate the added complexity.
So grab your Styrofoam, mix your glue, and get creative. Do not worry about perfection, nature is not perfect either. If you end up with a slightly crooked rock wall, call it “geological realism.” And remember, buddy, if your neighbour starts asking why you are torching Styrofoam in the garden, just tell them you are working on an art project for your eight-legged friend.
When it is done, step back and admire your handiwork. Not everyone can say they built a miniature landscape for a creature that sometimes hisses at tweezers and attacks water splashes.
Share this page
Enjoyed this page?
Easy Tarantula Enclosure Setup GuideThe Enclosure as Its Own Small-Scale Ecosystem The distribution, habitats and ecosystems of tarantulas is just as diverse as our eight-legged friends themselves. You can find them in the Americas (NW), Asia (OW), Africa (OW) and Australia (OW) living in holes in the ground (although not so much Hobbit-like), roaming the earth overground, living on trees and between bark folds and making themselves their home within brambles in the brushland. Each of those ecosystems comes with it’s own climate and microclimate, and the better we are able to recreate their natural environment, the higher the chances that our spider will thrive. Enclosure Setup Type The Terrestrial Enclosure Ground-dwelling species like the Brachypelma hamorii or the Acanthoscuria geniculata, just to name a few, will mostly enjoy an enclosure with a moderate amount of soil. Just enough that they have the opportunity to burrow their own hide and just enough that there …